
Recipes

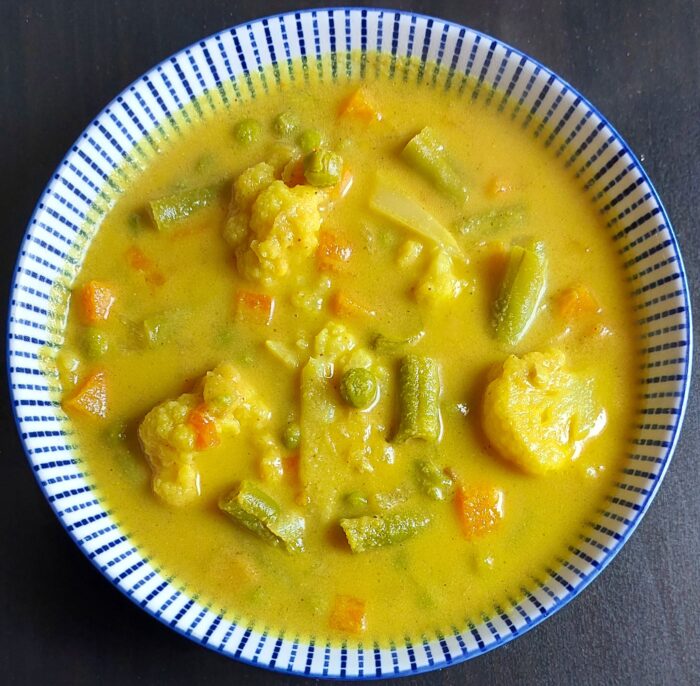
Recipe for Mixed Vegetable Caldine
Caldine, be it Fish, Prawn or Cauliflower, used to be my Nana's favourite curry. She would make pieces of bread and dunk it into the curry and eat it. She used to call it Sweet Curry as this curry does not contain Red Chillies like Read more…
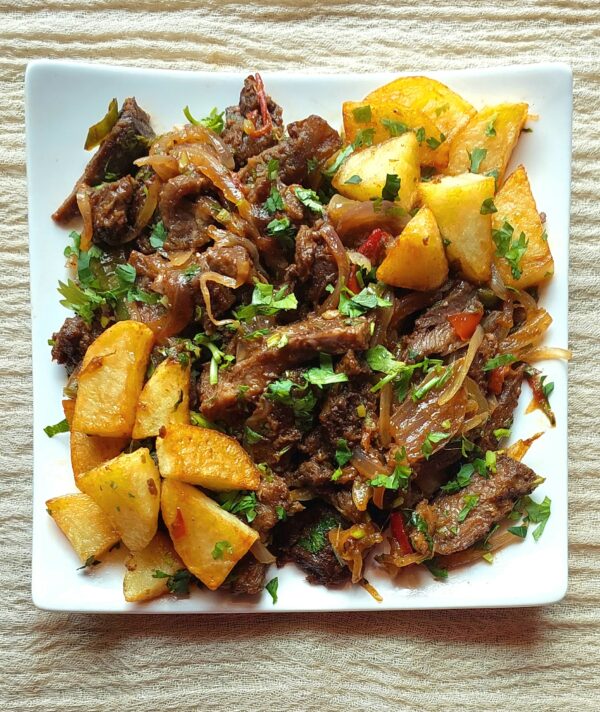
Recipe for Tongue Roast Chilly Fry
I was first introduced to Tongue Roast Chilly Fry by my sweet and kind Manglorean neighbour aunty Philomena Mascarenhas(May her soul rest in peace). One afternoon, she sent us a bowl of Tongue chilly fry and it was soooooo yum! Sadly, I never got Read more…
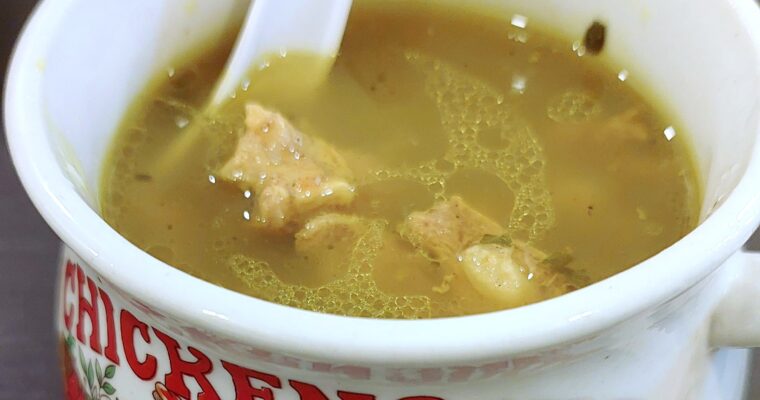
Recipe for Mutton Bone Soup
Anybody for Mutton Bone Soap?? This is perfect to keep Gorom in a Thond Thond climate In a typical Goan home, this soup is given to those who have a flu, common cold and cough and even for those who get diagnosed with Asthama or Read more…
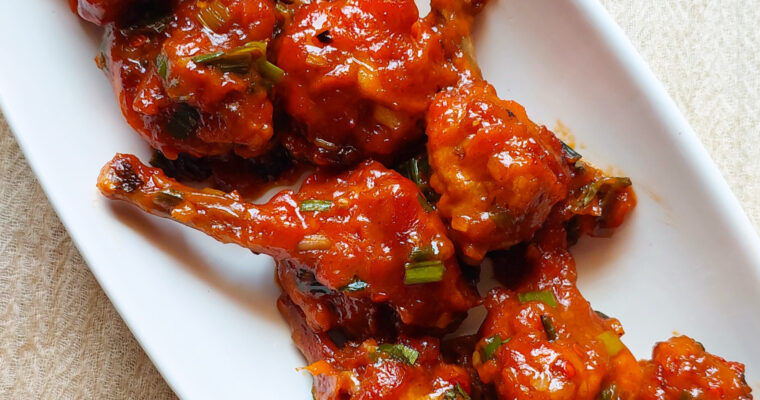
Recipe for Saucy Pops
I was first introduced to these Saucy Chicken Lollipops at our College Canteen in St. Andrew’s, Bandra. I used to wait when that damn bell would ring and I’d run down to the canteen and grab myself two of these most delicious Saucy, Spicy Read more…
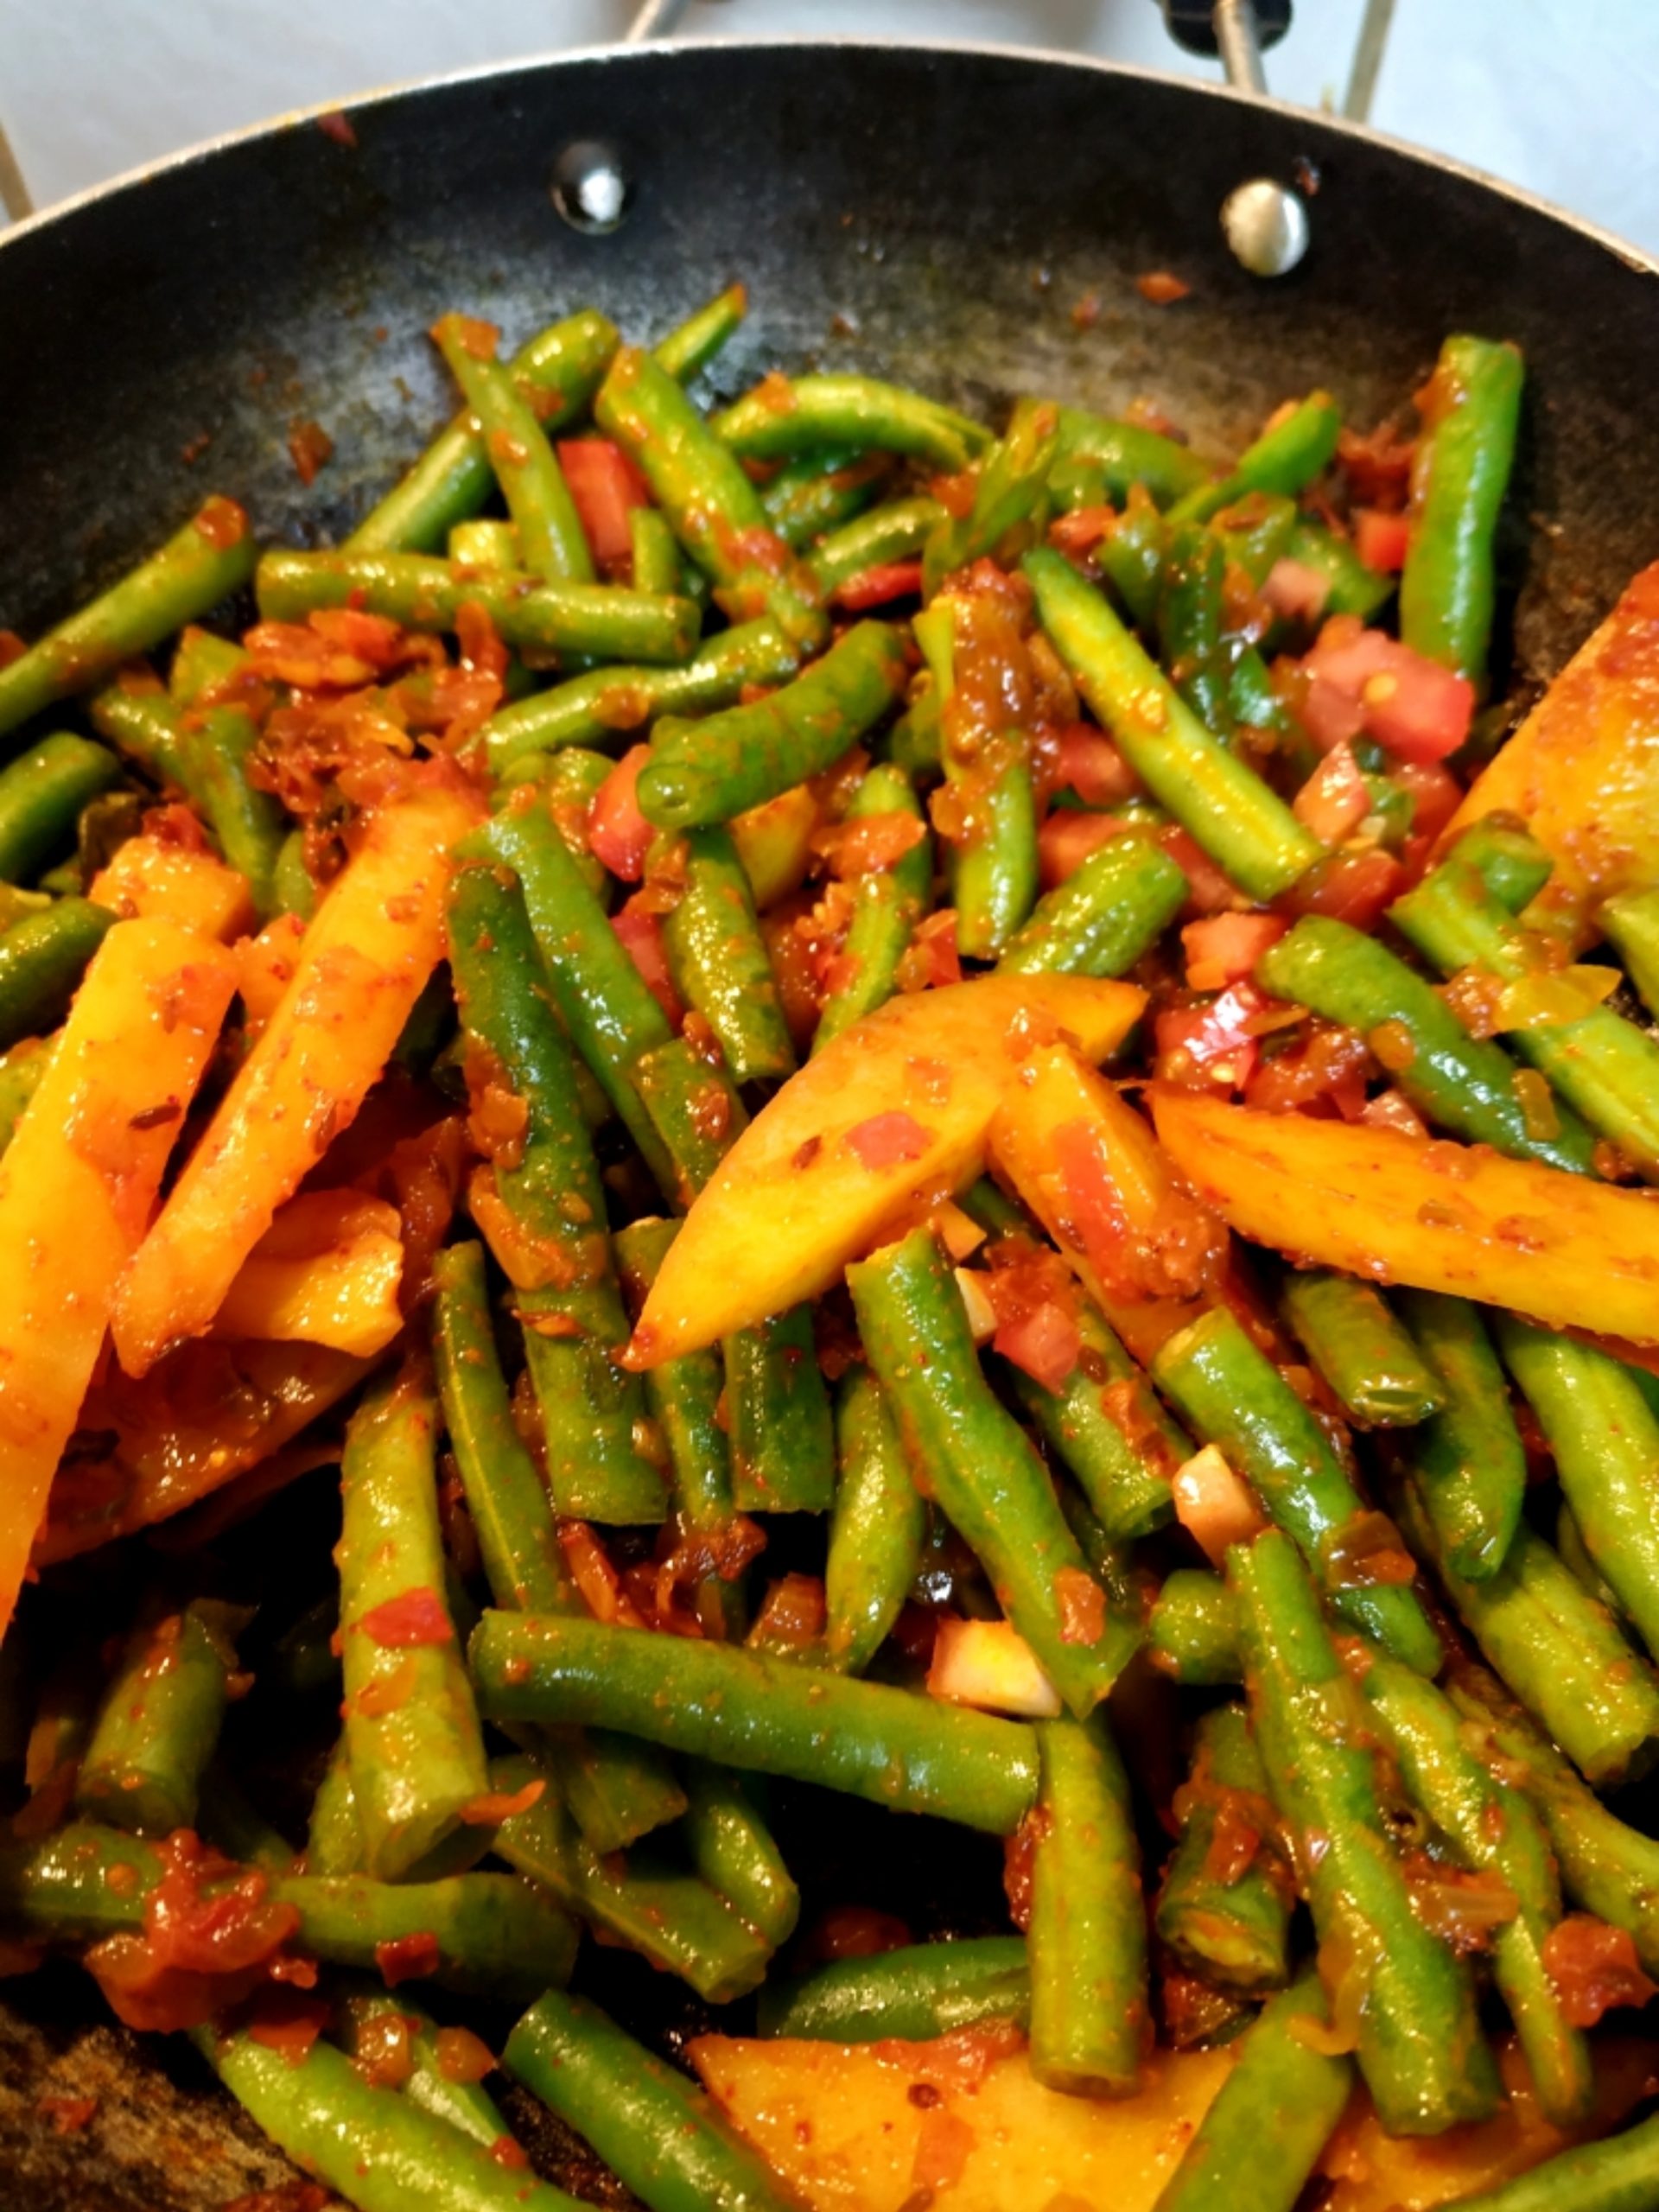
Base Recipe for Veggies with Mild Spices
When you think you've eaten too much of a feast especially after Christmas, New Year, Easter, Birthdays or Anniversaries, you can make this simple vegetable and enjoy it with Hot chapatis. It's light, simple, quick and super delish and requires no side dish.Now that Lent Read more…
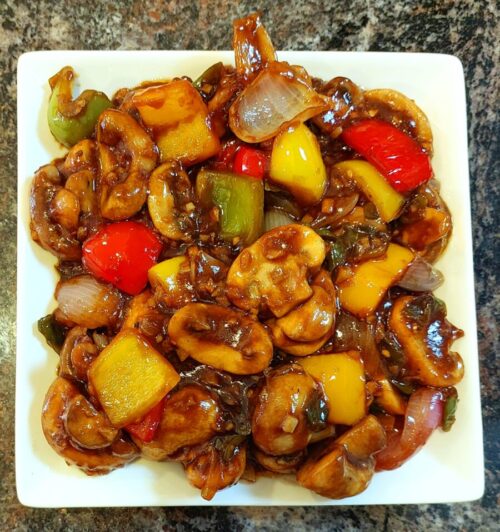
Recipe for Mushroom Chilly Dry
Being from a typical Goan Middle class family in Bombay, we never really saw Mushrooms being sold at the local ‘Bhajiwala’ nor did anyone in our neighborhood cook Mushrooms as they used to be super expensive and were always considered as one of the more Read more…

Recipe for Caldine Masala
At home, We call Caldine “Sweet Curry” as this is a very mild curry with no spice nor spicy red Chillies like the other Goan curries. Whenever we are under the weather, my Mum makes this light and simple “Sweet Curry” for us. I remember Read more…