
Recipe for Mommy’s Homestyle Beef Biryani
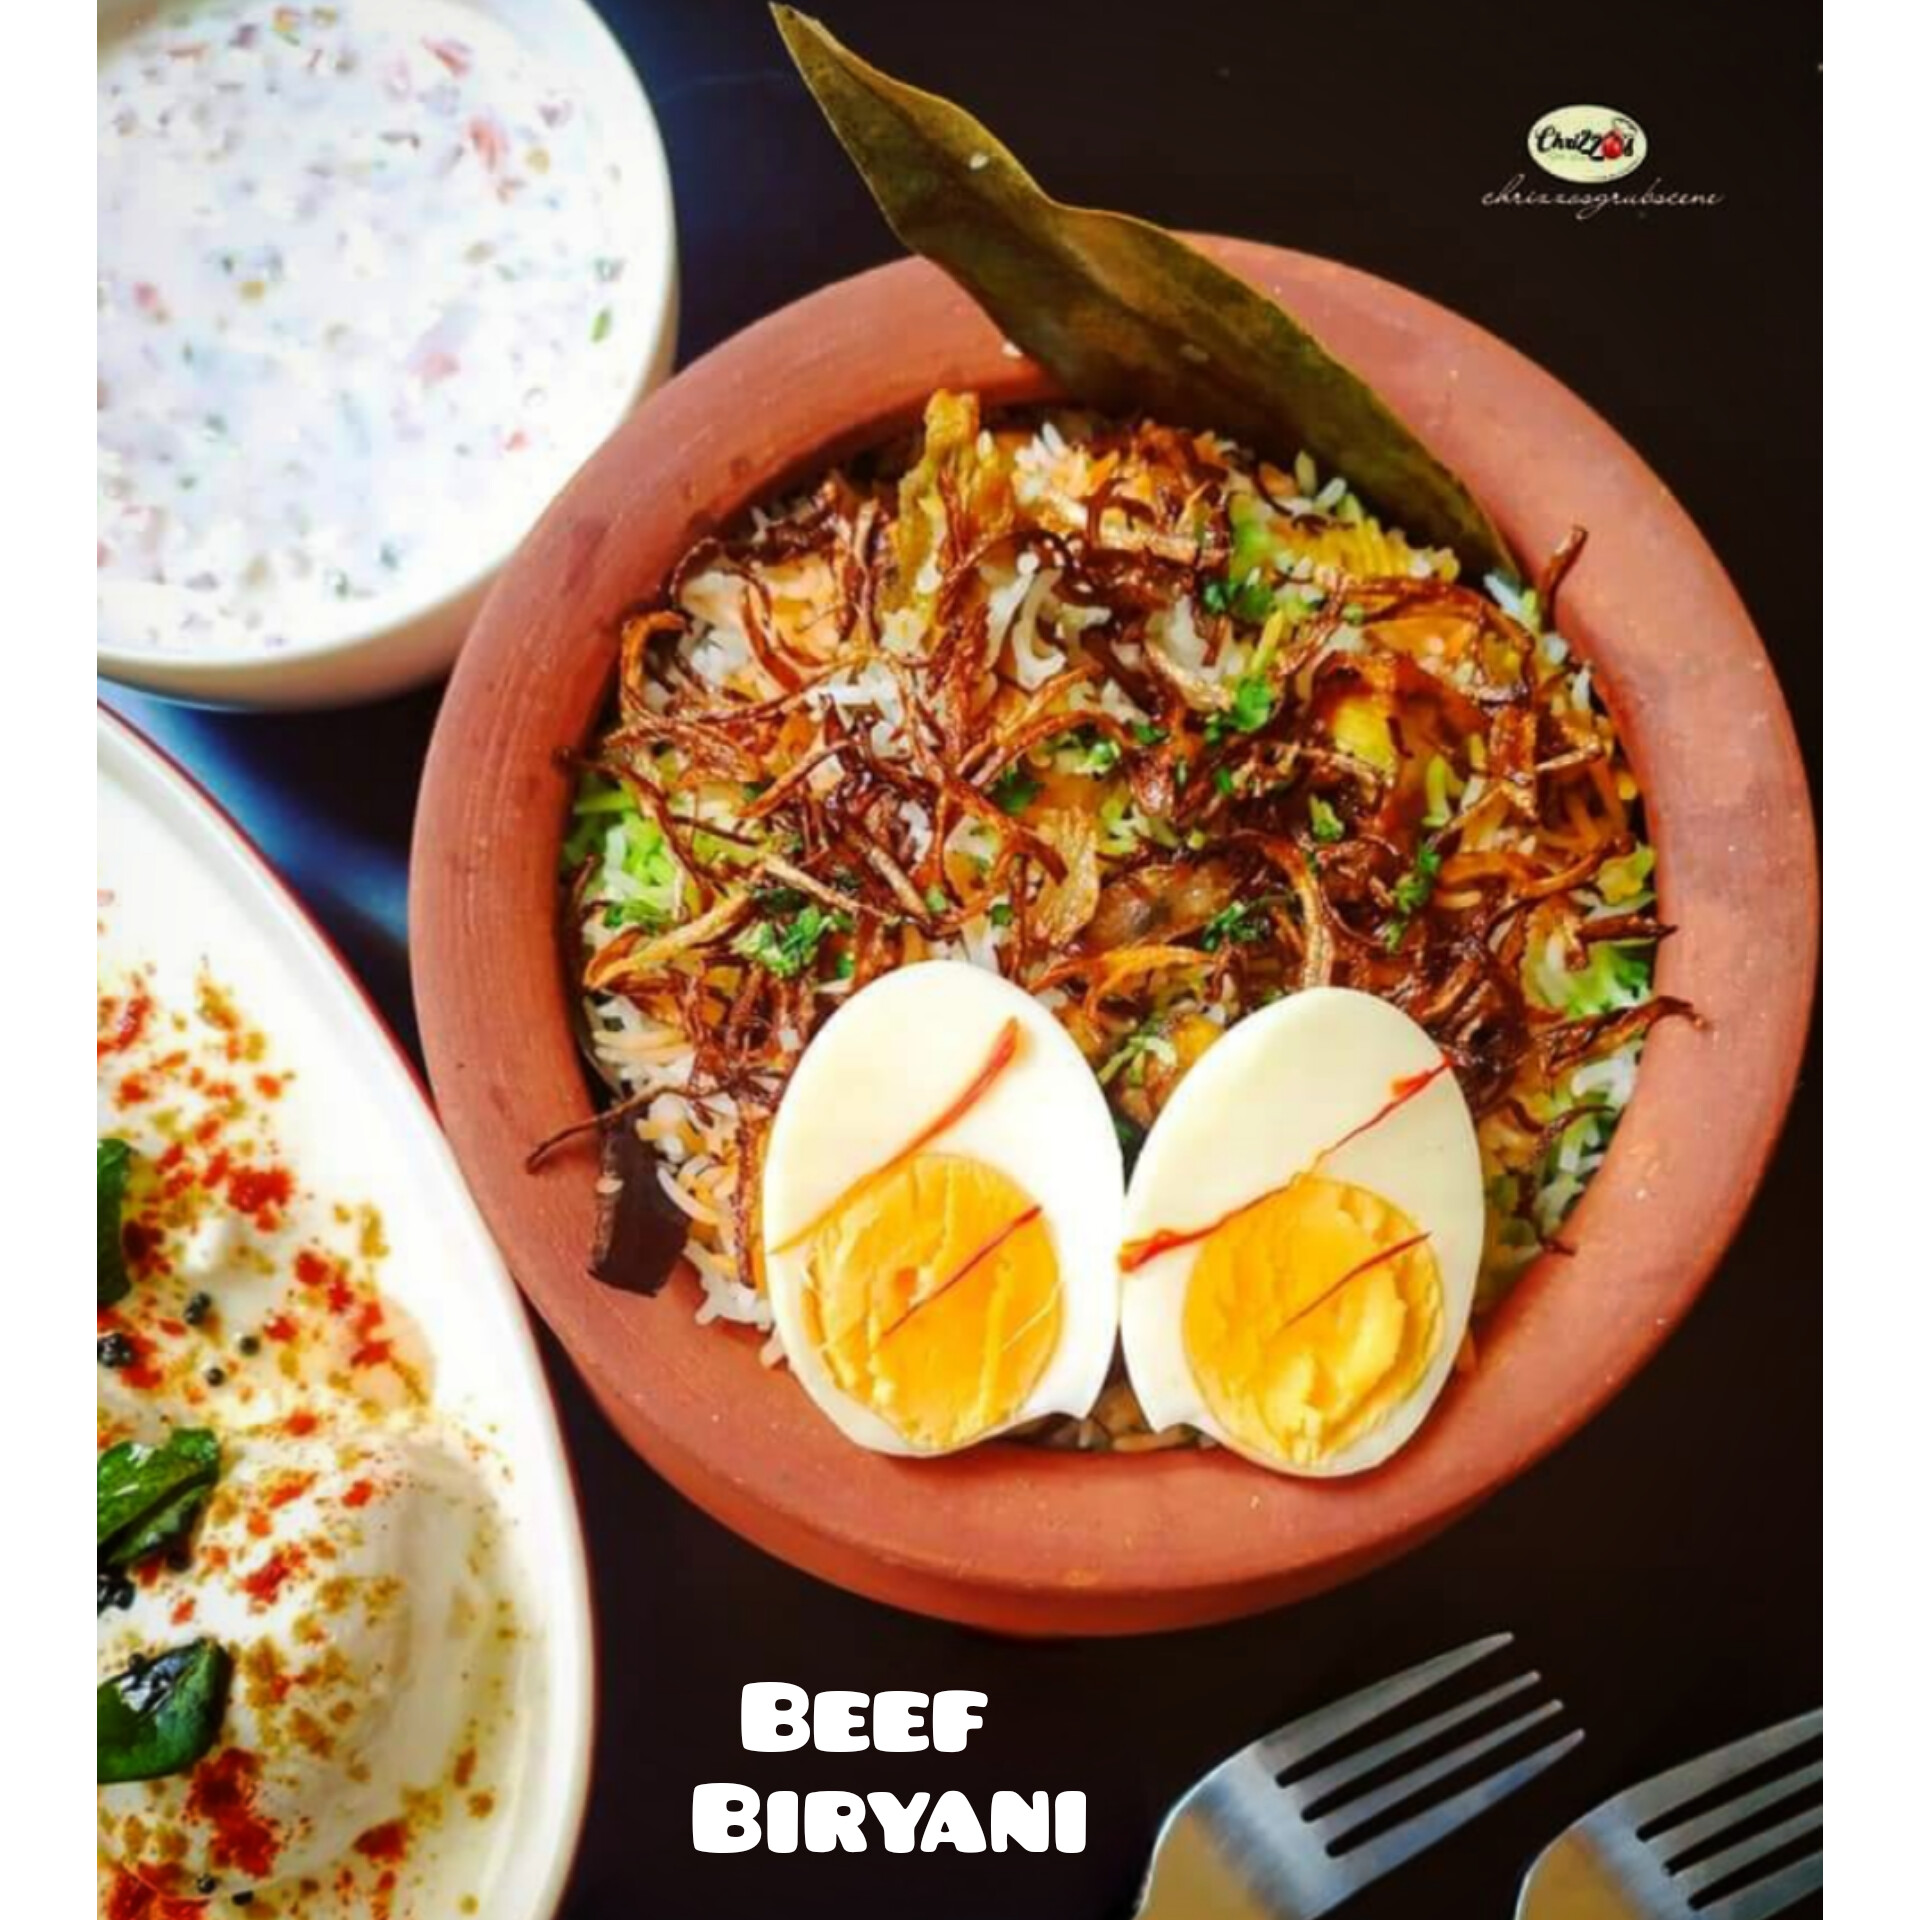

Recipe for Mom's Homestyle Beef Biryani
This is Not a regular or Authentic Biryani that you would find at a restaurant or at a Muslim Wedding but a very Simple Home style, makeshift, Sunday feast created by Mommy love.Her Beef Biryani used to be a hit at our eatery and even during her catering days. We used to serve it as specials on Weekends. It was loved by our customers. Even after we shut the eatery, our customers used toorder this in kgs with Mum for their picnics and parties. Ever since I started blogging, I have been requested for this recipe and due to it’s lengthy process, I always kept procrastinating but since I complete 5 years of blogging this year 2023, I thought it’s time to revive the Beautiful Memories of Mum’s Humble Home Style Beef Biryani and share the love with each of you.This recipe is specially dedicated to my friend Savio Zacharia who loved my Mum’s Beef Biryani a lot and has requested for this recipe many times. He now lives in another city, hence mum cannot cook this for him now. Ithought of him so much while writing this recipe 😊😊It is a lengthy process but trust me IT IS SO WORTH IT! Do give it a try and enjoy it with your family and friends
Servings 4 people
Ingredients
Ingredients For boiling the Rice
- 3 litres water
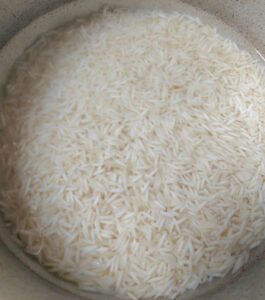
- 375gms Long Grain Basmati Rice(2.5 cups)
- ¼ Cup Oil
- 2 Tbpsn Rock Salt or 1 Tbspn Fine Salt
- 2 Green Cardamom
- 4-5 Pepper Corns
- 3-4 Cloves
- 2-3 pieces Cinnamon sticks
- 1 Star Annise
- 2-3 Bayleaves
- Lemon Skin(Squeeze the juice of the Lemon in a bowl and keep aside for the Gravy and use the skin in the Rice water)
Ingredients for Boiling the Beef
- 500 gms Boneless Beef – cut into medium sized cubes
- ½ Cup water
- 1 Tspn Ginger Garlic paste
- 1 Tspn salt
Ingredients For the Gravy
- The Boiled Beef
- 1 Tspn Shahi Jeera
- 4 Medium sized Onions - sliced thin and long
- 3 Green Chillies - slit
- 2 Medium sized Tomatoes - sliced thin and long
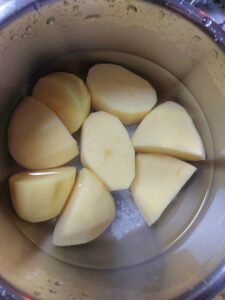
- 3 Medium sized Potatoes – Cut into quarters(Peel, Cut intoquarters, wash and soak in water and 2tspn salt and keep aside)
- 1 Tbspn Ginger Garlic Paste(Recipe link given below)
- 1 Tspn Coriander Seed Powder
- 1 Tspn Cumin seed Powder
- 1 Tspn Turmeric Powder
- 1 Tspn Red Chilly Powder
- 3 Tspn Everest Garam Masala Powder
- 1 small veg, beef or chicken stock cube(1 Tspn or 6gms)
- 100 gms Unsweetened Yogurt
- Juice of ½ a Medium sized lemon
- 20 gms Mint Leaves(1 cup)
- 50 gms Fresh Coriander with step(1.5 cup)
- 1 Tbspn pure Cow’s Ghee
- 1 Tbspn Oil
Other Ingredients
- 3 Tbspn Milk
- 7-8 strands of saffron
- 1 drop of orange food colour
- 1 drop of green food colour
- 1 large onion
- 1 cup Oil
Instructions
Follow these steps to Boil the Beef
- Wash the beef cubes and transfer it into a pressure cooker. Add ginger garlic paste, salt and water.
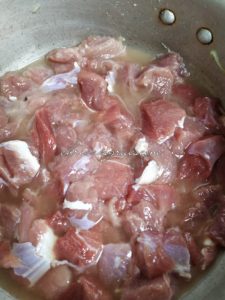
- Allow the Beef to cook on medium heat until 2 whistles are released. Once the Beef is soft, keep the it aside.Note: DO NOT discard the water. We will use it for the gravy
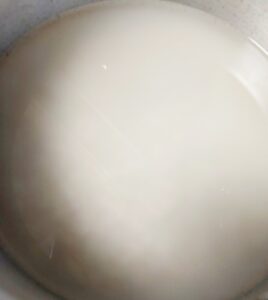
For the Colour (optional)
- Take two small microwavable bowls and add 1.5 tbspn milk in each bowl. Heat the milk in the Microwave for 30 secondsIn one, add a drop of Green food colour, mix it well and keep asideIn the other, add the Saffron stands and orange food colour, mix it well and keep aside

Follow these steps to Boil the Rice
- In a bowl soak the rice for 20 minutesNote: Soaking the rice helps the rice grains to soak up some water making it softer and fluffier, thus reducing the cooking time
- After 20 minutes Wash the rice very gently and drain out all the water till the last drop Note: You have to wash the rice till the water is clear and the rice can be seenTip:- there should be absolutely no starch left in the rice as starch makes the rice sticky once cooked. You may have to wash the rice about 4-5 time
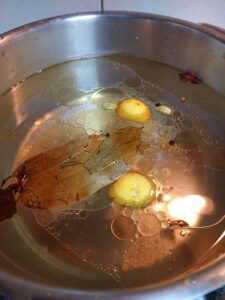
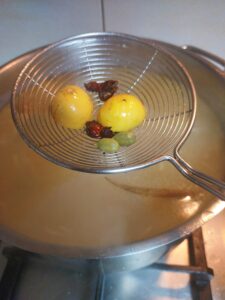
- Now in a large vessel, add the Water, Oil, Whole Spices, Lemon Skin(Lemon skins soak up any starch in the rice water and takes away the stickiness from the rice) and Salt(all mentioned under the ingredients for the Rice section)Tip:-the vessel has to be Really wide whenever you make Rice or any Rice dish .Themore wider and bigger your vessel, the fluffier the Rice grains will be! This happens because each rice grain gets more space to cook and fluff up... I call it breathing space🙈🙈🙈Note: The whole spices add to the flavour to the riceDO NOT forget to add oil as Oil enables the rice to remain separated. This is one of the most essential element in a good textured Biryani – Fluffy Separated Grains
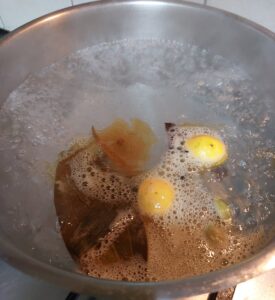
- Once the water comes to a rolling boil, Add the soaked Rice into the vesselNote: DO NOT continuously stir the Rice it will cause the grains to break and we don’t want broken grain for Biryani. Stir the Rice ONLY once and very gently. I prefer using a silicone spatula to stir the rice as it is very gentle and keeps the rice intact
- In exactly 5 minutes, I turn off the heatNote: This is for a small quantity. You may need to check if you’re using a bigger quantity. The whole point is to not cook the rice until it’s filly cookedSome things to keep in mind as to why we undercook the Rice:1) The rice was soaked initially. Hence this step reduced the cooking time2) When we take some time to remove the whole spices from the rice, the rice is getting cooked a little more in that hot water3) After straining the rice, the rice will remain hot for some time. The heat that remains on the grains will further cook the rice4) The Biryani will be given a Dum(further heat) later which will further cook the Rice
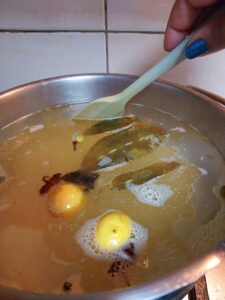
- You will see all the whole spices and lemon skin floating in the vessel. It’s better to discard it as it’s not very pleasant when you bite into it when eating the Biryani….mood off types!
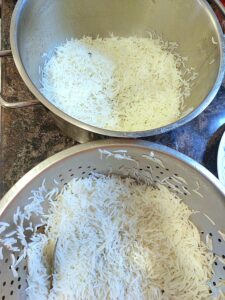
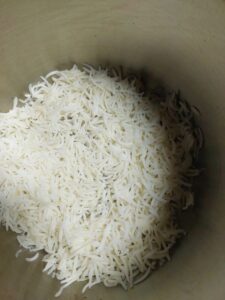
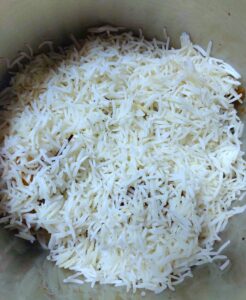
- Strain the Rice in a colander
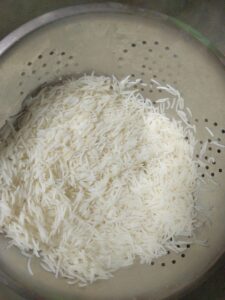
- Once all the water is drained out, divide the rice into two trays or vessels so that the rice cools faster and doesn’t get further cooked for too long due to the heat. Let the Rice come down to room temperatureNote: Please treat the Rice like a baby or better still like your Lover with utmost gentleness, unless you’re a tough lover then please calm down at this stage! Hahahah Use a silicone spatula or better still, directly pour the rice into the trays. This will keep the grains intact and long
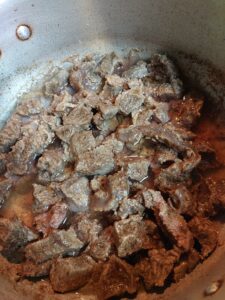
Follow these steps to cook the gravy
- Peel the Potatoes, cut them to halves or quarters and soak it in a bowl of water and add 1tspn saltNote: Potatoes once peeled starts turning black. Ensure to immediately soak it in water. I prefer soaking it in Salt water so that by the time the Potatoes are ready to use, it is nicely coated with some salt. It enhances it’s taste
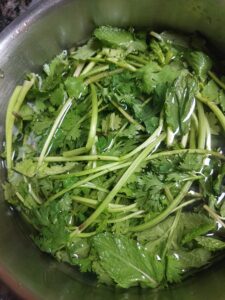
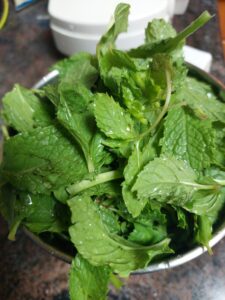
- Soak the Mint leaves and Fresh Coriander in a bowl of room temperature water and keep it asideNote: Soaking any leaves and herbs, separates all the impurities and it becomes easier to wash the leaves
- In a Vessel, heat the Oil and Ghee on medium heat
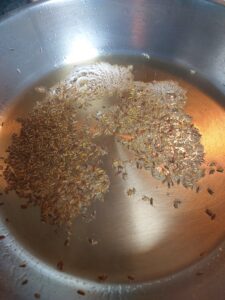
- Once the Oil turns hot, add the Shahi Jeera
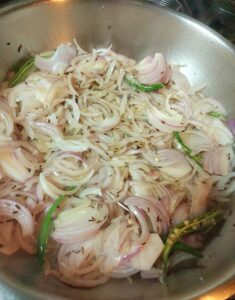
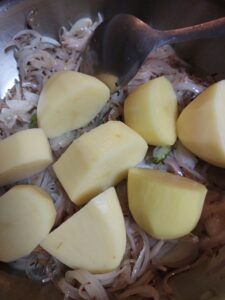
- Then add the Onions and sauté until it starts getting translucent
- Then drain out all the water from the Potatoes and add the Potatoes into the vessel. Mix this well and let the Potatoes get a light golden coating. Then cover the vessel and let the Potatoes cook a littleNote: My Mum adds deep fried potatoes to the gravy at the end. However, to save time and make this like a One Pot gravy I add the Potatoes in the same vessel and cook it. But If you wish, you can always add fried potatoes in the end once the gravy is ready, it tastes superb**Also, if you wish to skip the Potatoes, you can do so
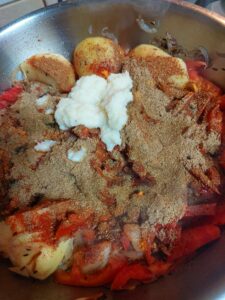
- After about 5-7minutes, add the Tomatoes, all the dry Spices, Salt and Ginger Garlic paste and stir it well and cover the vessel and reduce the heatNote: The moisture from the Tomatoes helps the spices to not stick to the bottom of the vessel. Also as the Tomatoes begin to cook and soften, it turns mushy and this helps to thicken the gravy
- As this is cooking, hand pick mint leaves and coriander and transfer it into another bowl. Wash the leaves with fresh water and drain out the water. Transfer the mint and coriander into a mixer grinder and make a thick smooth paste. DO NOT add any water
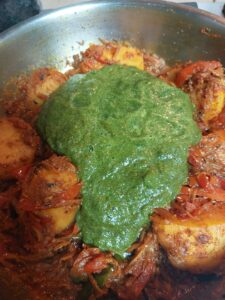
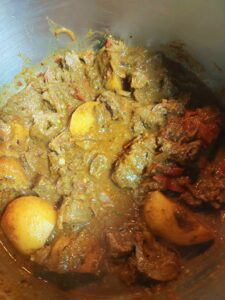
- After about 5-7 minutes, once the Tomatoes have turned completely mushy, add the beef water, lemon juice, stock cube and the mint and coriander paste and stir it well and put the lid on
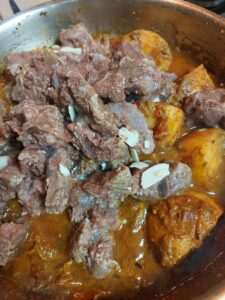
- Allow this gravy to boil for about 10-15 minutes and then add the Beef cubes. Mix it well and let it cook
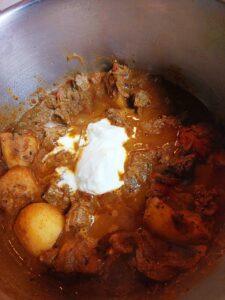
- After about 10 minutes, add the yogurt and mix it well with the gravyNote: We add the yogurt towards the end as yogurt sometimes may split on high heat or if left unattended
- After adding the yogurt, let the gravy boil until it’s nice and thick. Keep stirring it at intervals
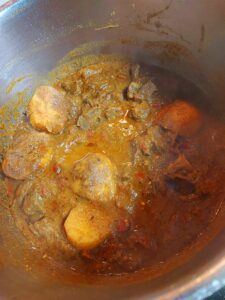
- Once the gravy turns thick, turn off the heat and keep it aside to cool at room temperatureNote: Once the gravy comes to room temperature, it will further thickenWe bring the gravy down to room temperature so that when we layer the biryani, the heat from the gravy does not further cook the rice as we also have to give it Dum which will cause more heat. Making Biryani is more like a Mission to Save the Long Rice Grains
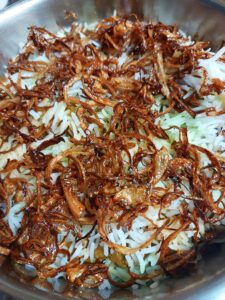
Follow these steps to Fry the Onions
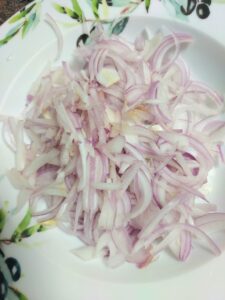
- Slice the Onion fine and long and separate it like how you would mix or squeeze something. So that while frying, every strand of onion is separated and all the strands fry evenly
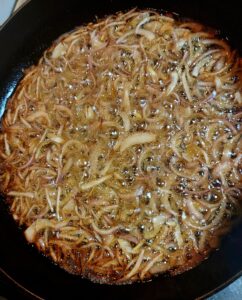
- In a skillet heat 1 cup oil on medium heatWhen the Oil turns hot, add the Onions and allow this to fry till it turns golden
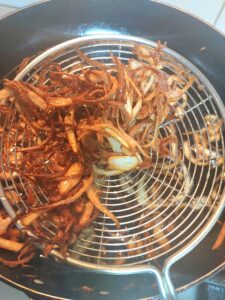
- Once the Onions turn brown, turn off the heat and transfer the fried onions into a bowl or vessel and keep it asideNote: Ensure the heat is not too high or else the Onions will get burnt and turn darker and bitterOnions have a high sugar content. Hence while frying the Onions, the sugar in the Onion reaches a point of caramelization and hence turns brown
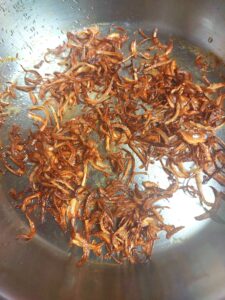
- Once the fried Onion turns cool, it will get crispIf you wish to use fried Potatoes in the gravy, you can fry the Potatoes in this Oil
Follow these steps to Layer/Assemble the Biryani
- Grease with oil a vessel that is deep and not very wide. It helps create more layersAdd some rice in the vessel. This will be the first layerNote: Greasing the vessel with oil, avoids the rice to get stuck at the bottom while giving the Dum
- The add some gravy and cover the rice
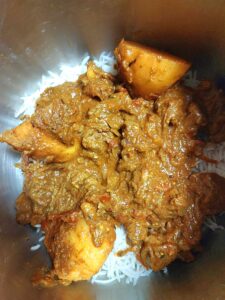
- Then add another layer of riceIn this way, keep alternating and layering the biryani and gravy. Ensure the last and final layer is of Rice
- Now with the help of a spoon, pour the orange and food colour liquid over the rice
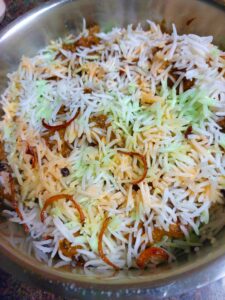
- Sprinkle the fried onions over the riceNote: If you like lots of fried onions in your Biryani, you can fry more onions and sprinkle it over every layer of ricePut a lid on the vessel and place it on low heat for 30 minutes and turn off the heat
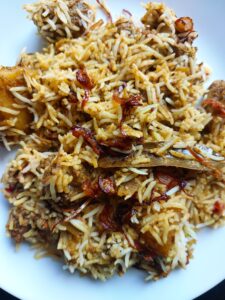
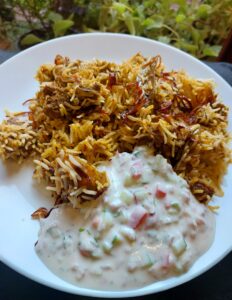
- FINALLLLLLLLY The Biryani is Ready!! 5 full hours but sooooooo worth the entire process!
- And DON'T forget the Raita! Oh Yummy yum yum! A Sorted Sunday Be like!!!!
If you like my recipe, don’t forget to “like” & “share” it with your friends and family. And once you’ve tried my recipe, request you to kindly share your valuable feedback with me. I'd Love to hear from You 🙂
Notes
Recipe for Ginger Garlic Paste
https://chrizzosgrubscene.com/2019/08/14/recipe-for-home-made-ginger-garlic-paste/
Recipe for Mommy's special Raita
https://chrizzosgrubscene.com/2023/08/21/recipe-for-mommys-special-raita/