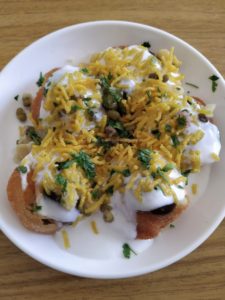
Recipe for Dahi Batata Puri
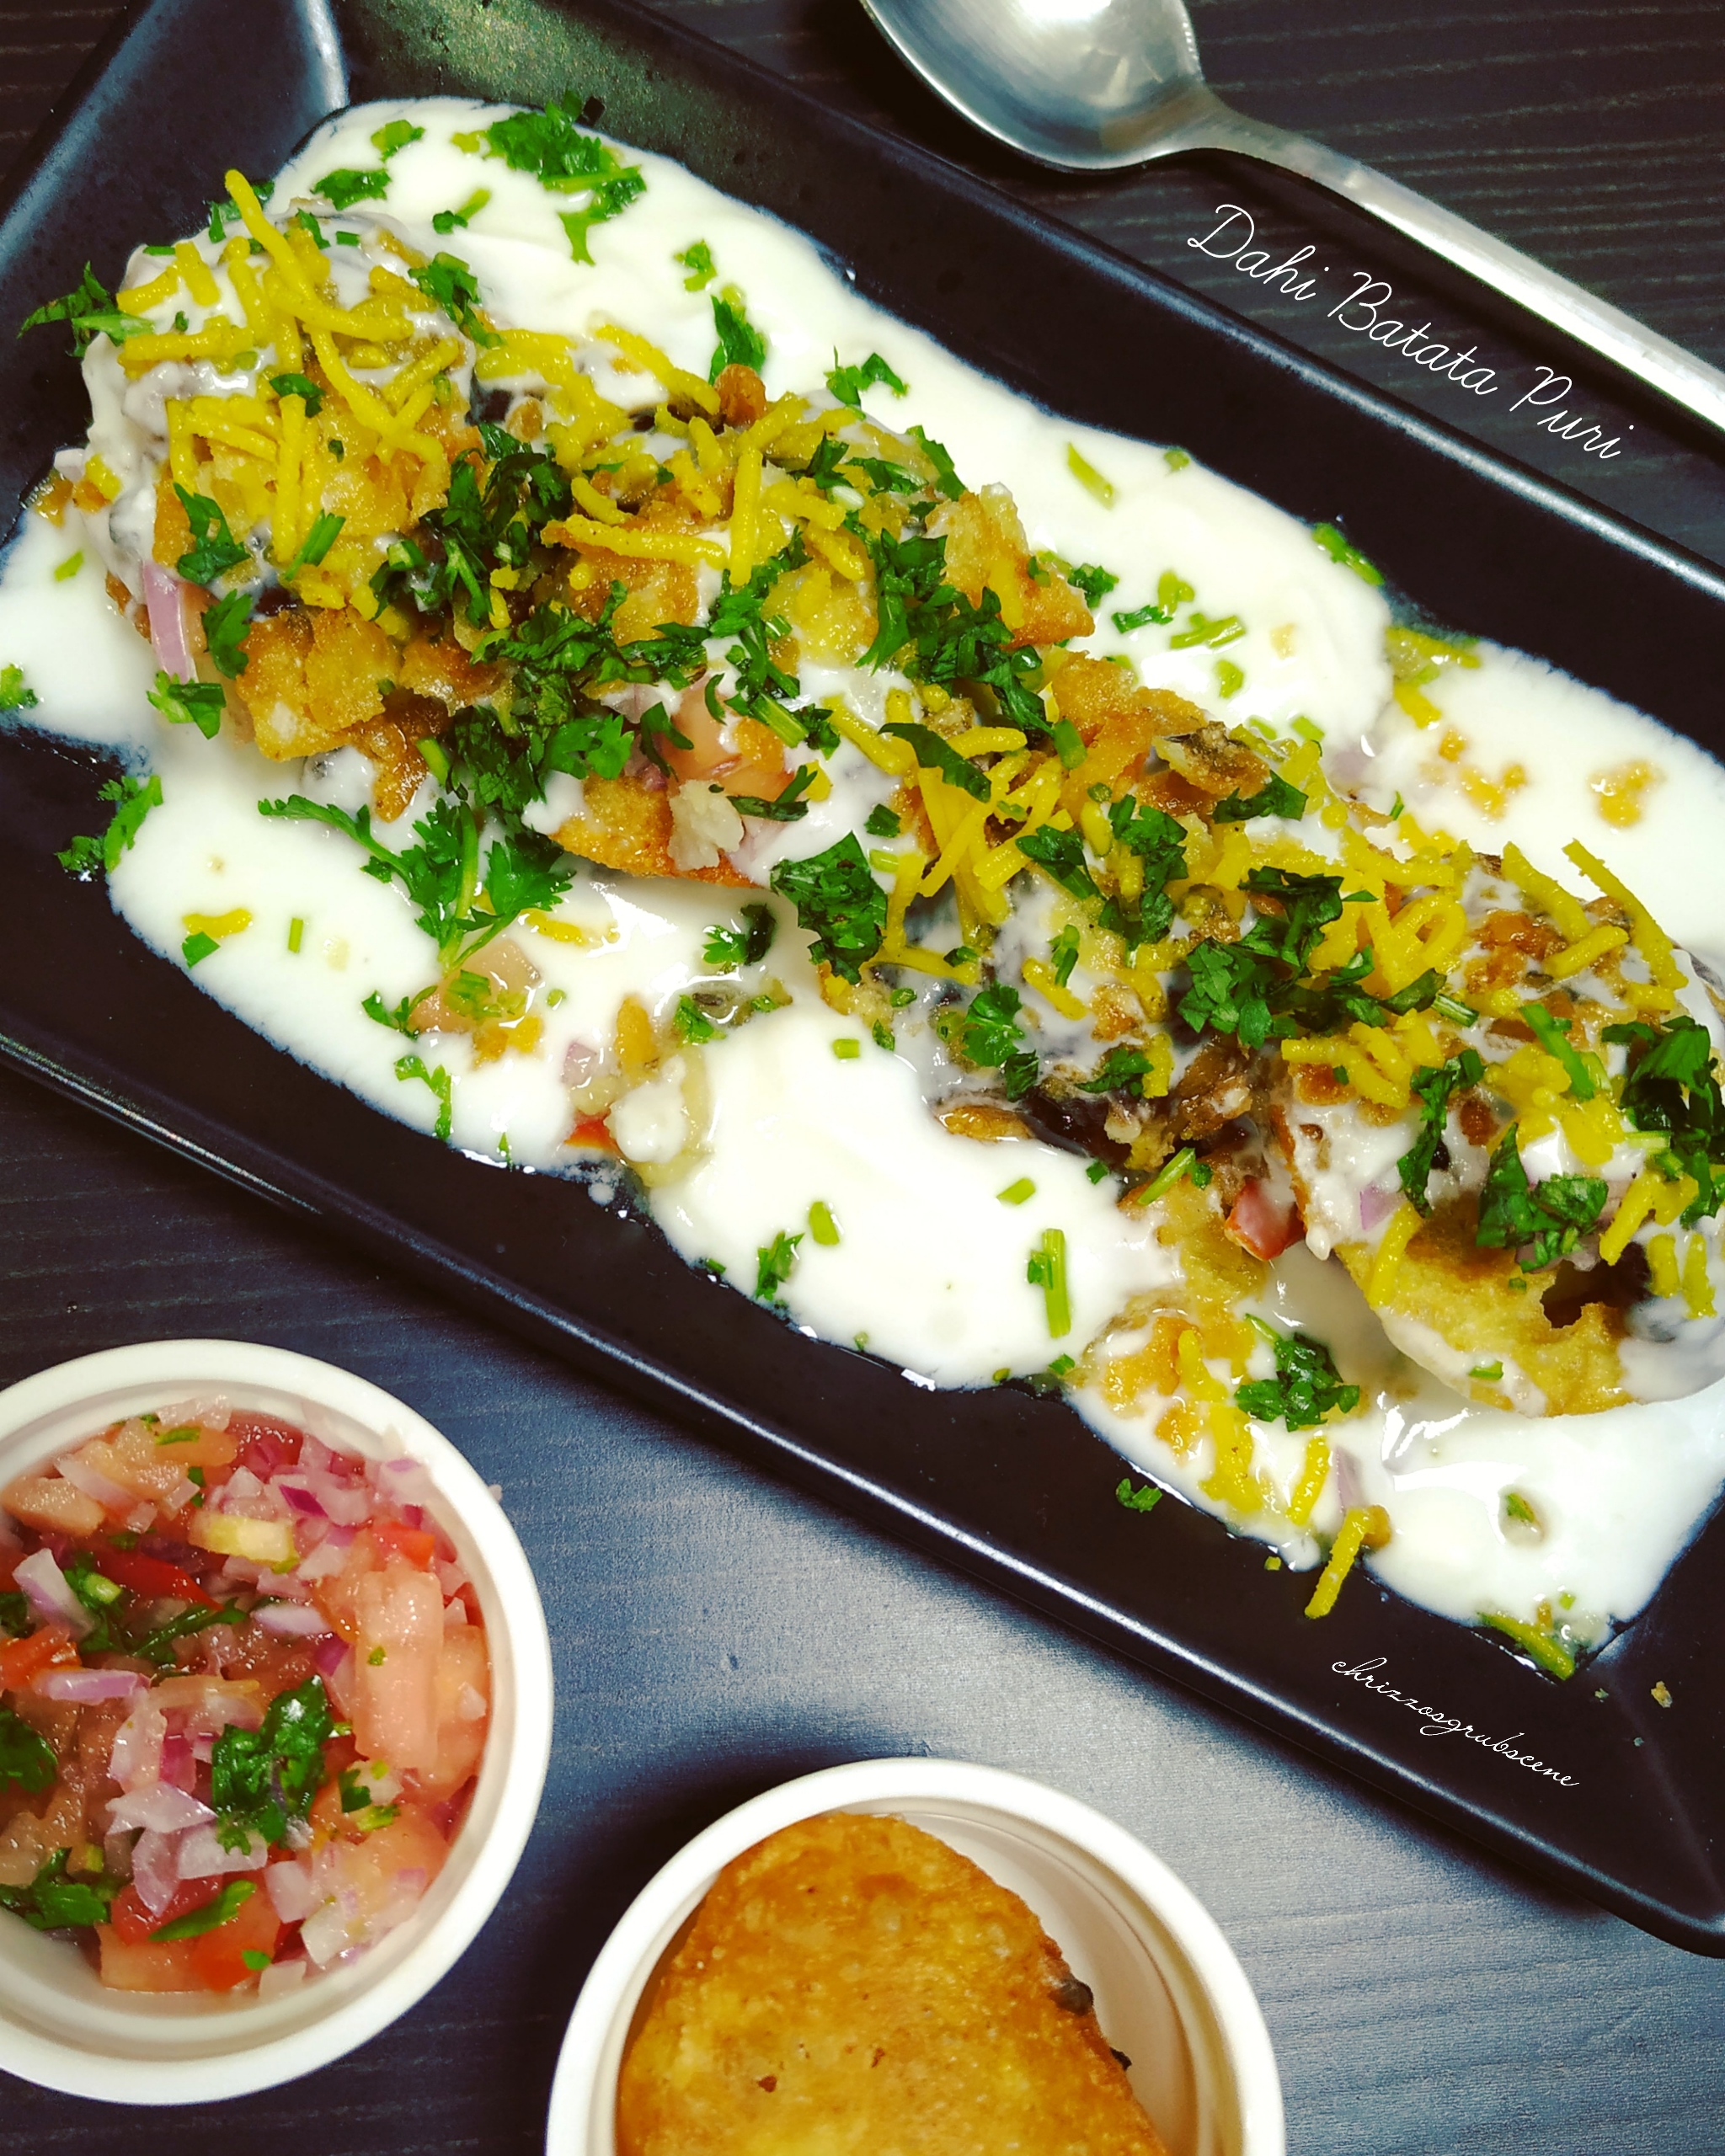

Recipe for Dahi Batata Puri
Dahi Batat Puri is one of my Bitter Better’s favourite chaats. Whenever we go out for chaat, this is the first thing he orders followed by Paani Puri. But, Back home, in Mumbai, there is this one place from where loves to eat Dahi Puri and till date he will only eat at that place whenever we are home(yeah he’s very choosy like that) He has been eating chaats at this stall in I.C.Colony, Borivali West, Mumbai, ever since he’s a child and the ‘Chachaji’ and his sons know my Bitter Better by name! It’s so beautiful! Like I mentioned in my Sev Puri post that all of us have that one favourite ‘bhaiyya’ who we all feel makes the best chaat and nobody can make it better than him. When I was a child, we used to enjoy Dahi batata Puri at this small very humble restaurant called ‘Geetha’s’ at Princess street, South Mumbai. For me that was The Best Dahi batata Puri I’ve ever had! Now that I’m away from Home and immensely miss the Mumbai Street Foods, I’ve learnt to make all these chaats at home. For me, I like to make everything from scratch. It’s Fun & Exciting and when you’re compared to ‘Chachaji’ & ‘Bhaiyyaji’ & ‘Geetha’s’ it’s worth all the trouble you take in the kitchen!These are my Mom's recipes and some tips and tricks learnt from various food videos.Do give this a try! I’m sure you’ll be extremely Happy with the results and so will your families! 😊
Servings 50 puris
Ingredients
Ingredients for the Puris
- ½ Cup Rawa
- 2 Tbspn All Purpose Flour
- ¼ Cup Boiling Water
Ingredients for the Sev
- 3 Tbspn Rice Flour
- 1 Tbspn Semolina
- ¼ Tspn Turmeric powder
- 1 Tbsp oil
- 1.5 Tbspn Water
Ingredients for the Meetha Chutney
- ¼ Cup Tamarind(without seeds)
- 15 Medium sized Dates(de seeded)
- ½ Cup Jaggery
- 2 Tbspn Sugar(it balances the Jaggery and Tamarind taste)
- 1 Tspn Cumin Seeds(dry roasted & crushed into a powder)
- ½ Tspn Fennel Seeds(dry roasted & crushed into a powder)
- ½ Tspn Red Chilly Powder
- ½ Tspn Black Salt
- ½ Tspn Ginger Powder
- 4 cups water
Ingredients for the Spicy Green Chutney
- 6-8 Spicy Green Chillies
- ½ Cup Fresh Coriander
- ½ Cup Mint Leaves
- ½ Tspn Salt
- 1 inch Ginger
Ingredients for the Spicy Red Chutney
- 10 Kashmiri chillies(soaked in 1.5 Cups Hot Water for 1hour)
- 6 Garlic cloves(roughly chopped)
- ½ Tspn Salt
- 1 Tbspn Water(for grinding the chutney)
Ingredients for the Dahi Batata Puri
- 2 Potatoes
- 1/2 Cup Whole Green Moong
- 1 Tsp Salt(to boil the Moong and Potato)
- 2 Cups Water (for boiling the Moong)
- 1 Tbspn Salted boondi(optional)
- Cold Curd as per your requirement(you can add a dash of Sugar if you like)
- ½ Tspn Red Chilly Powder
- ½ Cup Fine Sev
- 2 Tbspn Masala Chana Dal(optional)
- 2-3 Sprigs Fine cut coriander
Instructions
Follow these steps to make the Puris
- In a bowl mix the All Purpose Flour and Semolina
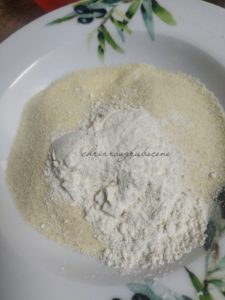
- Add the boiling Water and gently mix it with a spoon
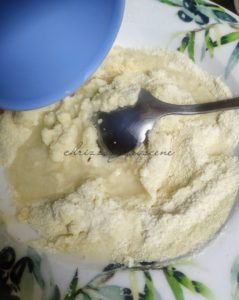
- Once it is comfortable to touch, massage it very gently for1-2 minutes onlyCover it and Keep it to rest for 10 minutesNote: This is a very important step

- After 10 minutes, make tiny(I make balls weighing 3gms)sized balls
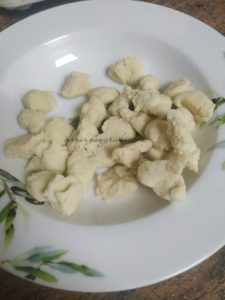
- Roll them with both your palms and make discs out of the dough balls

- With the help of a rolling pin, flatten each disc into a flat discNote: Don’t roll them too thin where you can see the surface of the table or too thick either
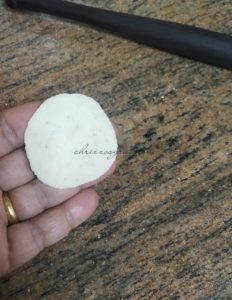
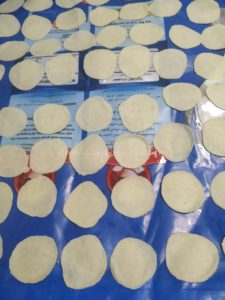
- Place each disc on a plastic sheet or a trayNote: Very Important step. We place them on a plastic sheet so that one side of the disc remains moist and this moisture creates steam while frying and this is what helps the puris to puff up
- Let the discs be on the plastic sheet for 10 minutes Note: Very important step. If we fry it immediately, there will be no moisture on the puris and it will not puff up
- Then in a skillet, add oil for Deep frying
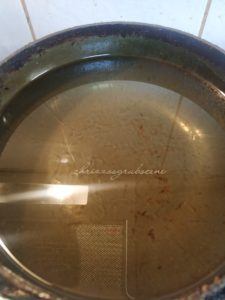
- Once the Oil turns Hot, drop each disc into the oil, moist side first
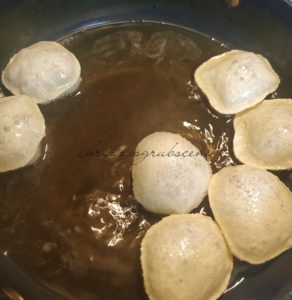
- With a Frying spoon gently press the puris down and you will notice them puffing up. Keep turning at intervals
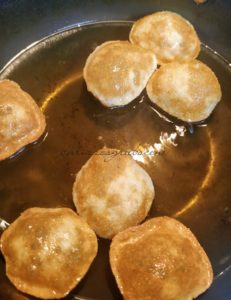
- Once they turn light brown and crisp, remove them into a tray or bowl and keep asideNote: As they turn cool, they will turn crispier

- Once they turn cool, you can transfer the puris into a large box and put the lid on. This can be kept for about a week at room temperature,since they are deep fried.Note: Please ensure the puris are completely cool at room temperature. Even if it is warm and you pack them, they will turn soggy with the steam

Follow these steps to make the Sev
- In a bowl, mix the dry ingredients

- Then add the oil a and water and knead it into a dough
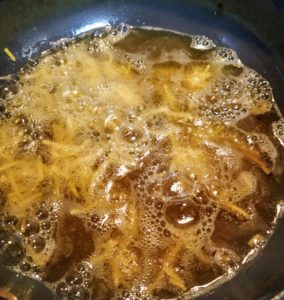
- Heat Oil in a skillet on medium flame
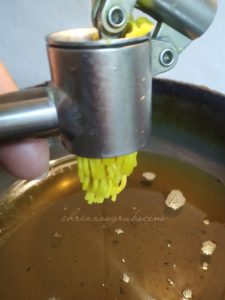
- Grease the Sev Maker with Oil and stuff the Sev maker with some of the Sev doughNote: Use the most fine fitting of the Sev maker
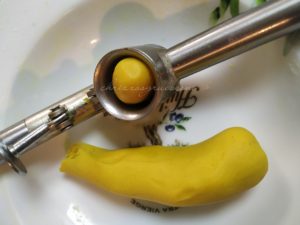
- Once the oil turns hot, press the dough down into the hot oil and let it fryNote: I’ve used my Garlic crusher since I dont have a Sev maker
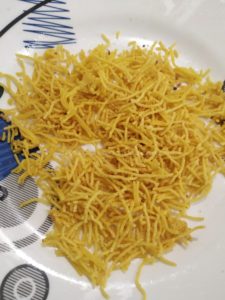
- Once the oil stops bubbling, remove the sev on a kitchen paper towel to drain off all the extra oil
- Once the Sev cools at room temperature, the Sev is ready to use. You can crush and sprinkle it as you like!
- My little Sev Innovation Story that I’m super excited about,so I’m sharing it here 😊: The traditional Sev is usually made using Gram flour.I’ve tried making Sev with Gram flour, but it’s always been a total disaster. This time when I tried adding rice flour and semolina to the gram flour mixture, I noticed it was getting a little better while frying, but still a disaster. That’s how I decided to make the Sev with Rice flour and Semolina and skipped the Gram flour and yayyyy it worked! Since I don’t have a Sev maker, I made the sev using my Garlic crusher! So cool right! You can also make it with a ginger grater, it’s just that it doesn’t become extremely fine and long but these were my lockdown inventions! Hahaha.. I had no choice. If you’re using a Garlic crusher, you will have to grease the crusher with oil first and then continue making the Sev. The pic that you see is where I’ve gram flour and my ginger grater

Follow these steps to make the Meetha Chutney
- Soak the Dates and Tamarind in 3 Cups of Water for about 30 Minutes
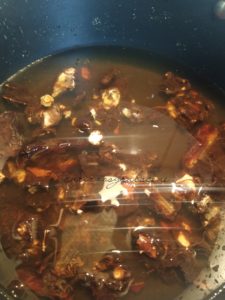
- Boil this mixture until the dates and tamarind becomes soft and the mixture turns thick and turn the heat off
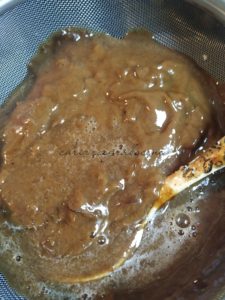
- Once this turns cool, Grind the Dates and Tamarind to a smooth fine paste and strain it using a strainer
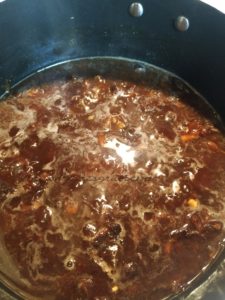
- Mix the Jaggery and remaining 1 cup water into the Date and Tamarind mixture and cook it until the jaggery completely melts
- Then add the Cumin powder, Fennel Powder, Red Chilly powder,Black salt and Ginger powder and Sugar and stir it wellNote: by adding red chilly powder, and all the other spices into the Meeta chutney, it will elevate the flavour of the chutney
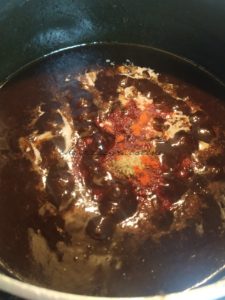
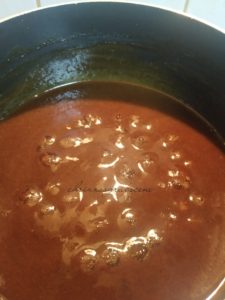
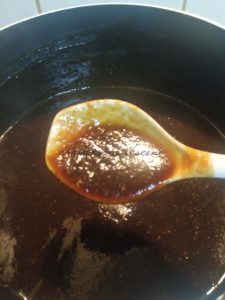
- Continuously stir the chutney and allow it to boil until it turns thickOnce it turns thick, you can decide at what consistency to turn the heat off. Here the choice is yoursMeetha chutney is ready. Keep it aside to cool. Once it comes down to room temperature, you can keep it in the refrigerator if you’re going to have cold Dahi Puri
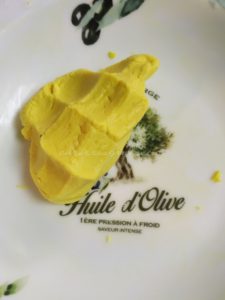
Follow these steps to make the Spicy Green Chutney
- In a mixer grinder, Make a smooth paste of all the ingredients mentioned under the ingredients list

Follow these steps to make the Spicy Red Chutney
- In a Mixer grinder add the Soaked chillies, garlic and salt and grind using water little by little to a smooth thick consistency
For the Dahi Batata Puri
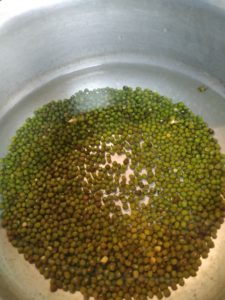
- If using Moong, Boil the Moong with ½ Tsp Salt with 2 Cups of Water in a Pressure cooker on medium low heat until one whistle is released.Allow all the steam to release from the pressure cooker only then open it and strain the water into a bowl and let the Moong come down to room temperature and then keep it in the refrigerator to cool.Note: We give it only one whistle because as soon as we turn off the heat and wait for the steam to be released from the pressure cooker,the moong will further cook with the heat from the water. Also, for Paani puri, the Moong should not be fully soft
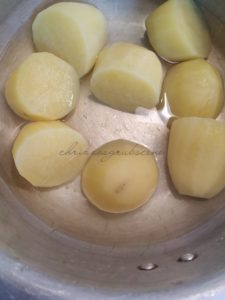
- In the same pressure cooker, you can use the same water that we used for boiling the Moong, Boil the Potatoes with ½ Tsp Salt medium low heat until one whistle is released. Allow all the steam to release from the pressure cooker only then open it and strain the water and let the Potato cool down to room temperatureCrush the Potato with your hand and keep aside or you can keep it in the refrigerator to cool
- In a bowl, soak 1 tbspn salted boondi in 1 cup water for 10 minutes. Drain off the water, squeeze all the water off the boondi and mix the boondi with the Moong and keep it in the refrigerator. Note: This is optional but it tastes really good
- Now, With the help of your thumb, crack open the top of the puris and place them on a plateThen stuff some Potato and Moong inside the Puri(you can use only Potato or only Moon as well)Add the chutneys as per your tasteThen add the Dahi on all the puris and top it off with some Sev and finely chopped coriander and sprinkle some spicy chana dal and enjoyyyy!! Yummmm!